Chapter 4 - The Journal
Users Guide
SoNET Powered Websites
Introduction
Thank You for using this SoNET Powered Website. By now you have figured out
that your new website is all about providing you the most bang for your buck, so
lets get into all the good things you can do with it. First off, you can upload
Pictures, Video's and even Mp3 files so others can not only read what you have to
say but see and hear it too. Your new site can even have its own members and allow
you to build your fan club or email list and send messages to all your members.
You can change whether it is public or private as well as change how it looks in
just a few seconds without losing any of your information. In addition to that you
can add, edit, spell-check and customize all the text on your website in multiple
languages. You can insert pictures into your front page text, write a Blog and even
post classifieds ads on your site. You can even get comments and ratings on all
the content you post and those who post can follow the conversation from anywhere.
Additionally you can post journal notes, make public announcements across the entire
network and communicate with other site owners on the network via email messaging.
Your site even has its own user management and each member of your site gets a profile.
The custom contact forms and invitations mean that you can build your own hub of
activity and communicate with all your members, generate leads for your business
and more. PayPal support means you can even sell stuff on your new website. These
and many more features are yours when you own a SoNET powered website. There is
nothing, that compares to your SoNET powered website at anywhere near the price
you are paying :) So tell a friend!
Chapter 4. Journal (Using the Notepad / Journal)
The Manage Journal control
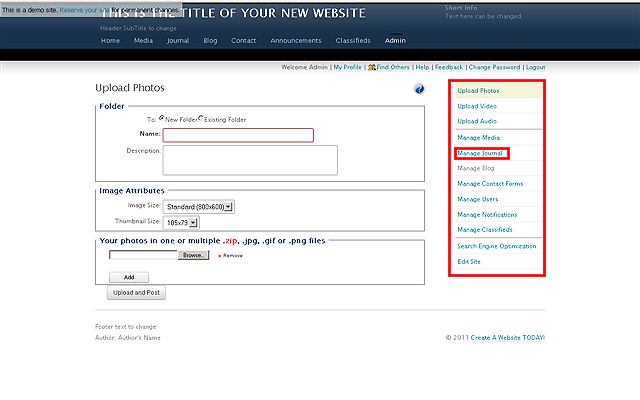
The MANAGE JOURNAL control lets you add a page with simple short text entries. Since
the button itself can be renamed like all navigation buttons on your site; it can
be used as a Diary, FAQ, Journal or Note Pad on your website. Click the MANAGE JOURNAL
control from the Admin control area.
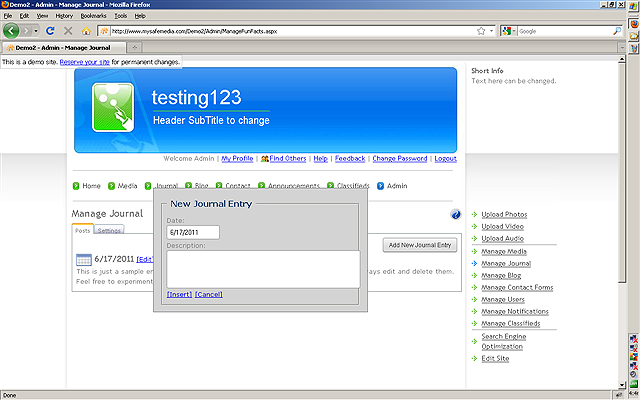
Once the MANAGE JOURNAL control is clicked you will see the screen below
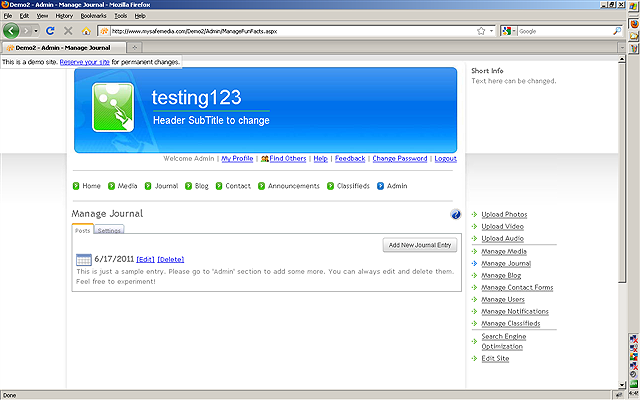
You can edit and existing entry by clicking the EDIT control which is next to the
date of an existing entry. Click UPDATE when you want to save it.
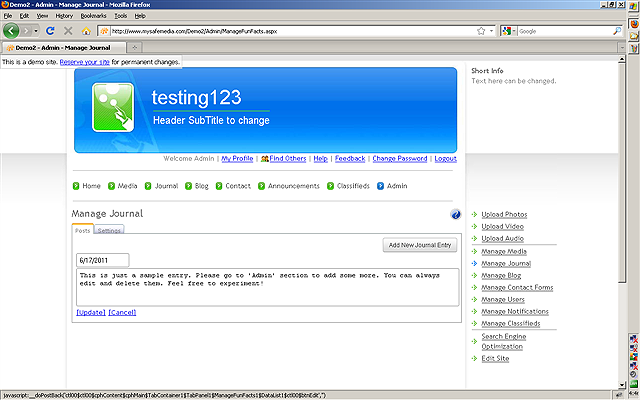
Adding a new entry
Click ADD NEW JOURNAL ENTRY. You can change the date as well on each entry if you
like. Once you are done click the INSERT link.
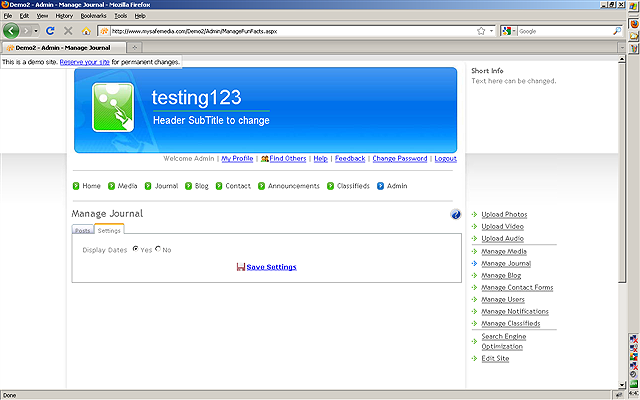
The Journal Settings. Click the
SETTINGS tab when you want to select if a DATE should be shown next to each posting.